Mastering the Art of Connecting a Raspberry Pi to Your Laptop
Enter a world of endless possibilities with Raspberry Pi. This article aims to unveil the steps we have painstakingly laid out to assist you in successfully connecting a Raspberry Pi to your laptop. If you are a novice user or an advanced professional looking to further your skillset, assimilate a comprehensive understanding after which seamless execution will surely follow. Let us guide you in navigating this technological landscape, breaking down complexities, and making it simple for you to master the art of this connection.
Understanding the Basics of Raspberry Pi
What is Raspberry Pi?
Raspberry Pi is a compact and affordable computer that was developed in the United Kingdom by the Raspberry Pi Foundation. This revolutionary device opens a world of possibilities by enabling people of all ages to explore computing. It does not only help understand the basics of programming through languages like Python and Scratch, but also helps foster innovation by allowing users to make various digital projects.
Components of Raspberry Pi
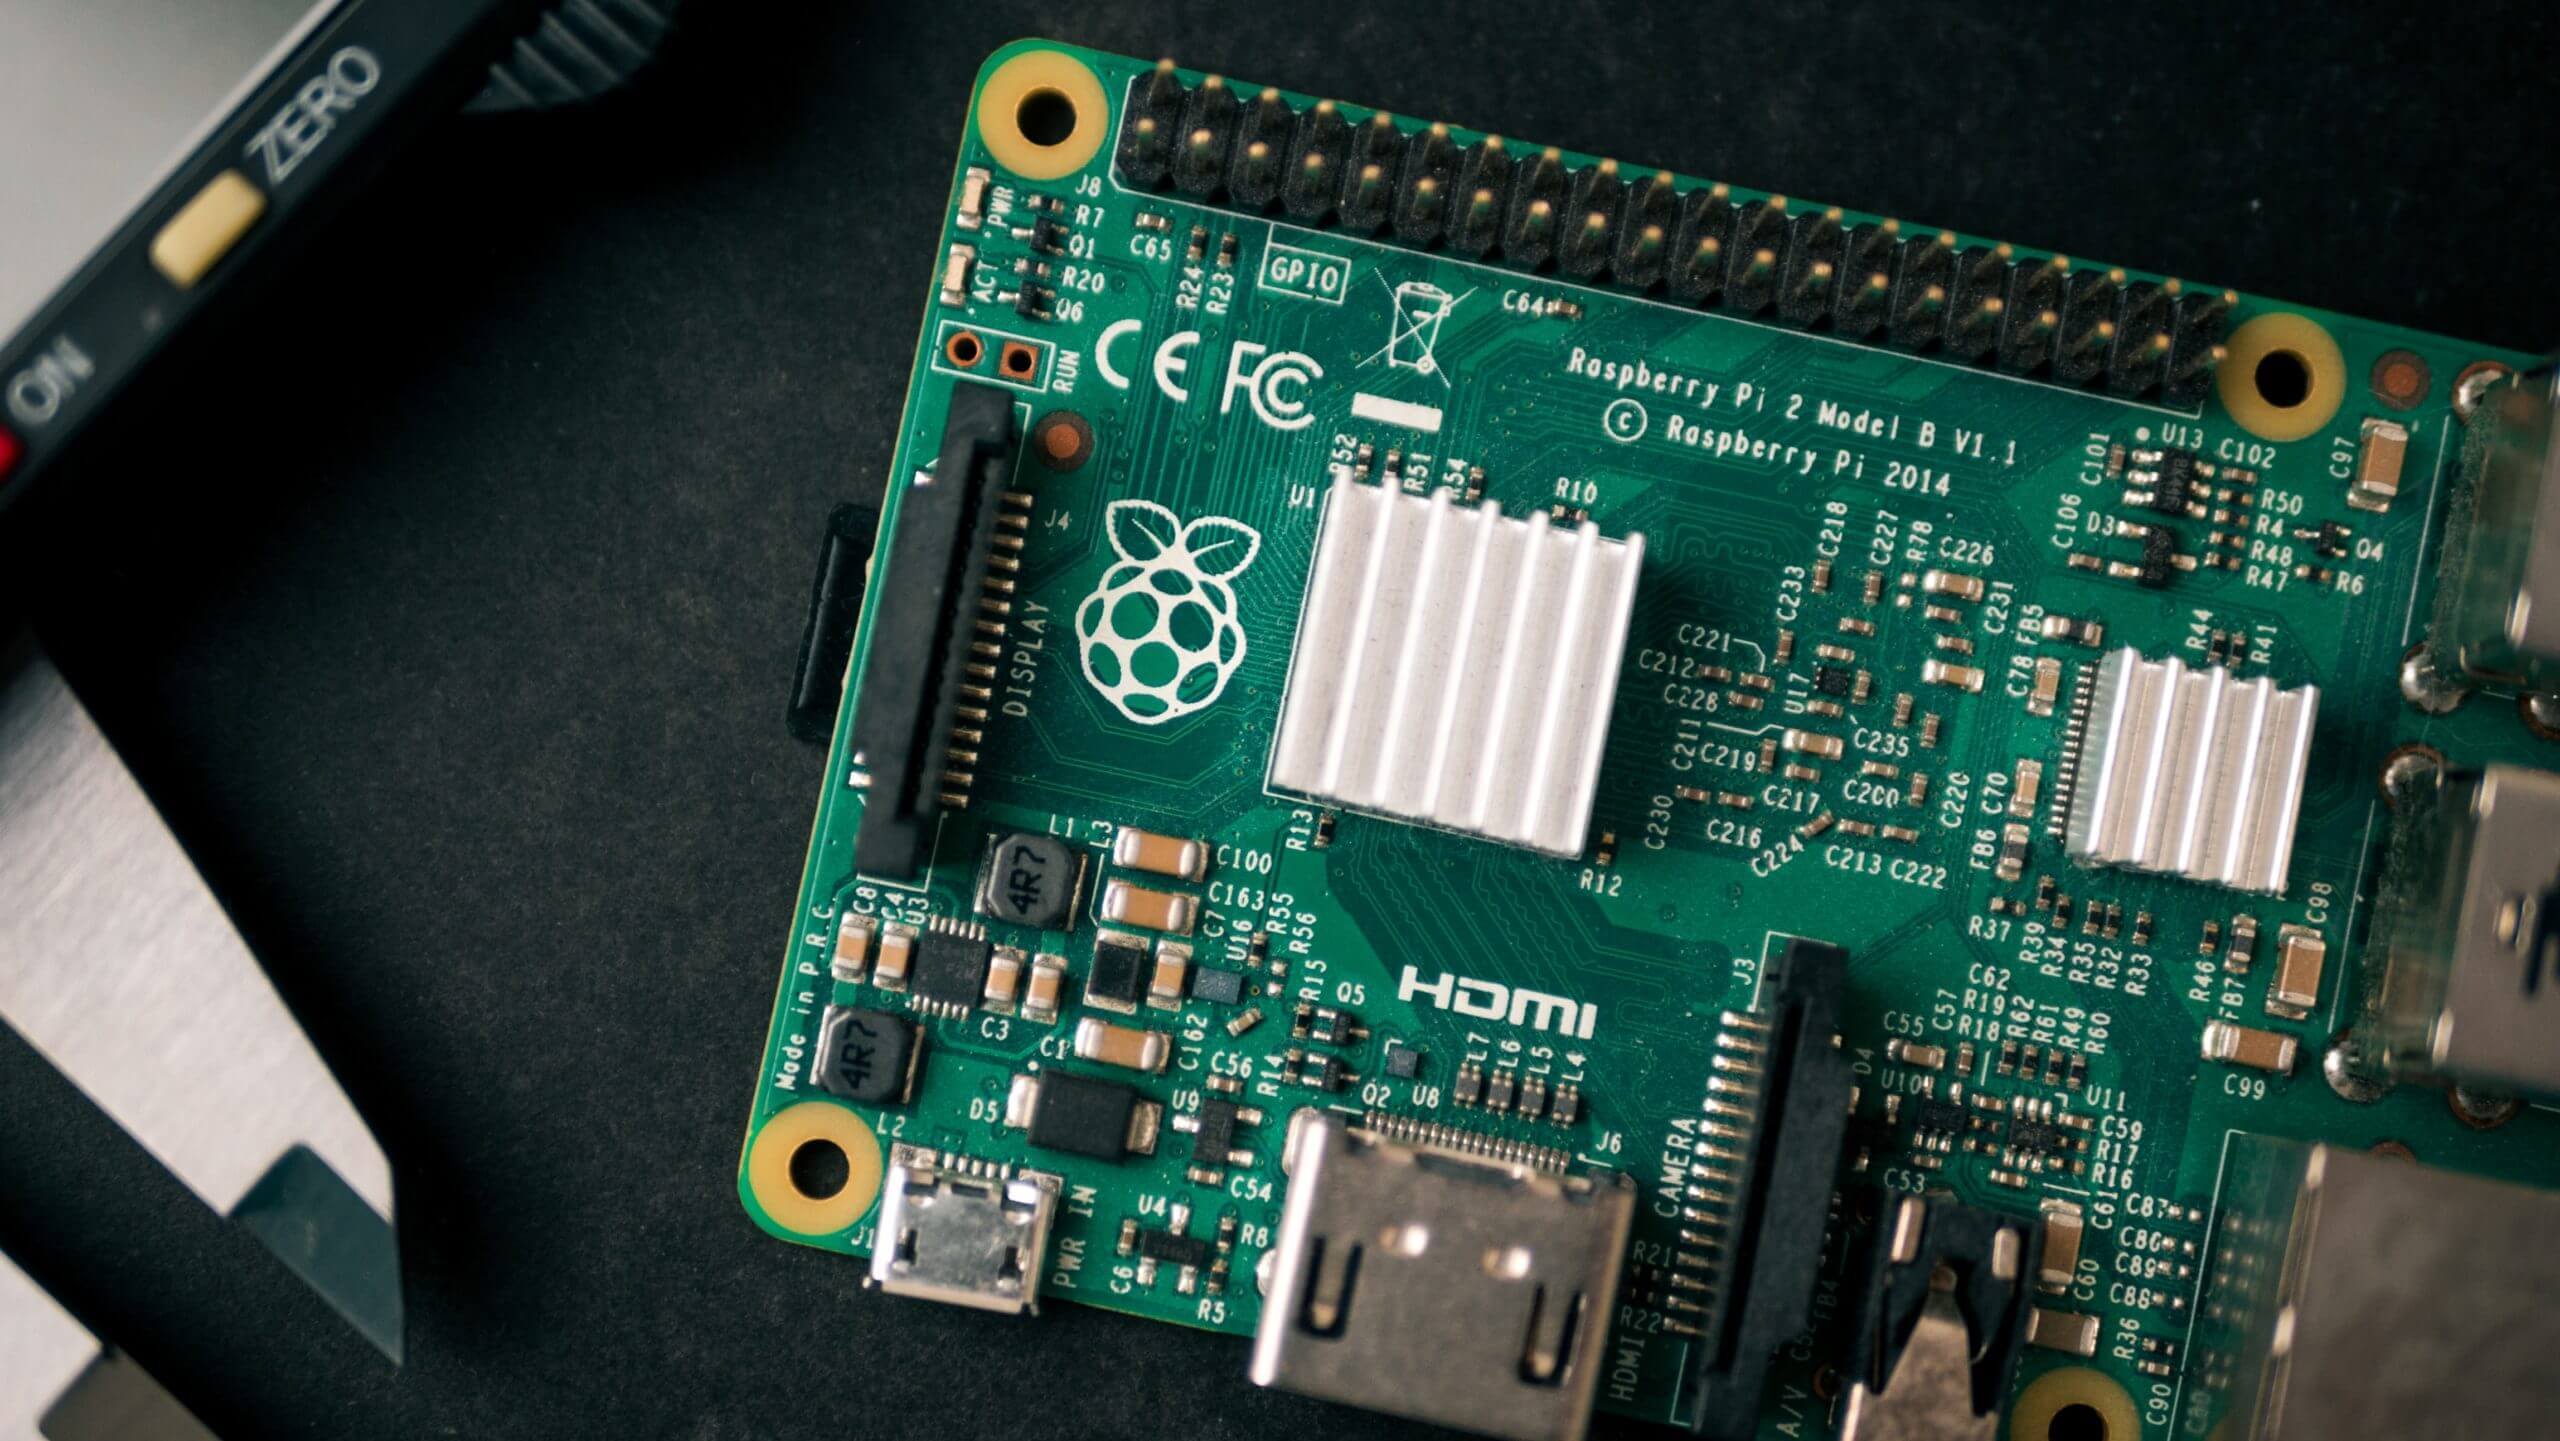
The components of a Raspberry Pi mimic those of a typical computer system. It includes a System on Chip (SoC) which consists of a CPU and GPU, RAM, USB ports for peripherals like mice, keyboards and external storage, an Ethernet port, and output options for audio and video. Additionally, it also has a General Purpose Input Output (GPIO) header which allows you to connect a variety of hardware to extend its functionality.
Functionalities and Usage of Raspberry Pi
Raspberry Pi is a highly versatile device. It can function as a full-fledged desktop computer, a media center, a server, a gaming console, and can even be integrated into home automation systems. Moreover, its potential is vastly expanded by the GPIO pins which allow connection to sensors, motors and other input/output devices, opening endless opportunities for creating and controlling custom hardware systems.
Preparation Phase for Connecting Raspberry Pi to Laptop
Choosing a Suitable Raspberry Pi Model
All Raspberry Pi models can be connected to a laptop, but the choice of model depends on your specific needs and purposes such as computing power, connectivity options, number of GPIO pins, and available budget.
Necessary Hardware for Connection
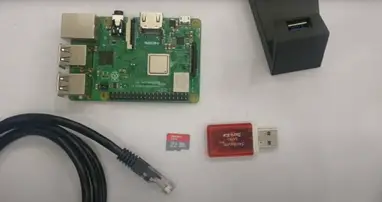
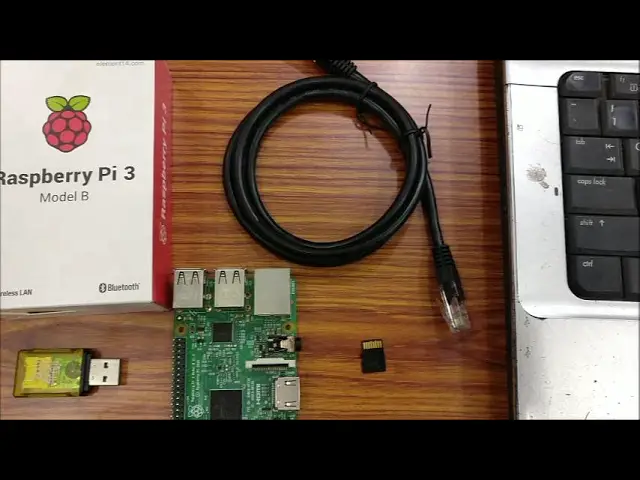
In order to connect a Raspberry Pi to a laptop, you need certain hardware components. The essentials include a Raspberry Pi unit, a microSD card (8GB or higher), a laptop, a microSD card reader, an Ethernet cable or USB to TTL serial cable, and a suitable power supply for the Raspberry Pi.
Checking Laptop’s Specifications and Compatibility
Before proceeding with the connection, it is essential to ensure that your laptop meets the necessary requirements to connect to the Raspberry Pi. Confirm the following: presence of suitable Ethernet or USB ports, compatibility with the software you will be using, and availability of adequate system resources to run the necessary software without disrupting the system’s performance.

This image is property of electronicshacks.com.
Installing Necessary Software for Connection
Recommended Software for Raspberry Pi
The foremost software required is an operating system for your Raspberry Pi. Popular options include Raspbian, which is the official OS of Raspberry Pi, and other Linux distributions like Ubuntu and Kali.
Installing an Operating System on Raspberry Pi
The first step is to download the OS image file from the official Raspberry Pi website. The downloaded file then needs to be written onto the microSD card using software like BalenaEtcher. Once this is done, the microSD card can be inserted into the Raspberry Pi.
Setting Up Laptop Software for Connection
To connect to the Raspberry Pi, your laptop requires some software installations too. Secure Shell (SSH) client software is needed for command-line login and remote execution of commands. PuTTY is a common choice. For a graphical interface, a Virtual Network Computing (VNC) viewer is needed.
Setting Up Raspberry Pi for Connection
Configuring Raspberry Pi’s Settings
Once the OS is installed, on booting the Raspberry Pi for the first time, you’ll be required to configure it. This includes setting the locale, timezone, keyboard layout, and Wi-Fi country code. You’ll need to enable certain interface options to allow remote connection.
Enabling SSH on Raspberry Pi
For security reasons, SSH is not enabled by default on Raspberry Pi. Enabling SSH allows you to operate your Raspberry Pi remotely from your laptop. You can enable SSH by accessing the Raspberry Pi configuration settings through its command line interface.
Establishing a Network Connection on Raspberry Pi
To connect your Raspberry Pi to your laptop, the Raspberry Pi must be connected to the same network as your laptop. This can be achieved by either creating a network connection using an Ethernet cable or by setting up a wireless connection.
This image is property of robu.in.
Physical Connection between Raspberry Pi and Laptop
Connecting via Ethernet Cable
The simplest and most straightforward method of connection is via an Ethernet cable. One end of the cable is plugged into the Raspberry Pi’s Ethernet port and the other into the laptop’s Ethernet port. Ensure the laptop’s network settings are configured to allow this direct connection.
Connecting via USB Cable
It’s also possible to connect the Raspberry Pi to your laptop using a USB cable. This requires a USB to TTL serial cable. Connect the USB end into an available USB port on your laptop and connect the other end to the GPIO pins on the Raspberry Pi.
Checking Connection Status
Once the physical connection has been established, it’s time to verify the connection. This can be accomplished via pinging the Raspberry Pi’s IP address from the command prompt on your laptop and checking for a live response.
Wireless Connection between Raspberry Pi and Laptop
Requirements for Wireless Connection
To connect your Raspberry Pi and laptop wirelessly, both devices need to be Wi-Fi capable and connected to the same Wi-Fi network. The Raspberry Pi Model 3 and newer have inbuilt Wi-Fi, but for older models, a Wi-Fi dongle will need to be used.
Setting Up Raspberry Pi for Wireless Access
Setting up the Raspberry Pi for wireless access involves configuring the Wi-Fi settings in the Raspberry Pi’s OS settings section. This includes inputting your Wi-Fi network SSID, password, and troubleshooting any connectivity issues.
Connecting Laptop to Raspberry Pi Wirelessly
Once the Raspberry Pi is set up for wireless access, it should appear on your laptop’s list of network devices. You are then able to connect to it using your chosen SSH or VNC software.
This image is property of electronicshacks.com.
Establishing Remote Desktop Connection
Installing Remote Desktop Software
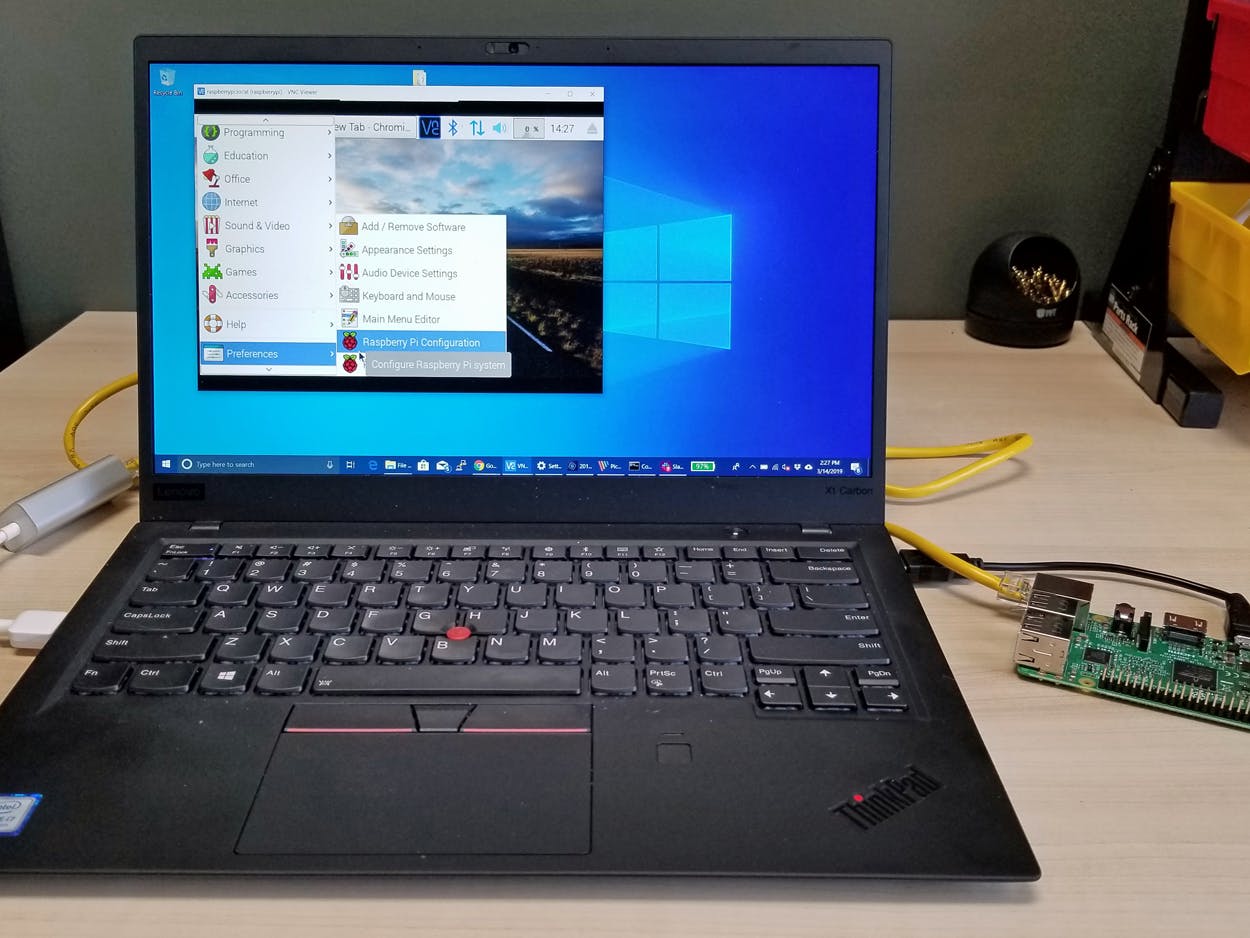
Aside from SSH and command line interfaces, Remote Desktop software can be used to log into your Raspberry Pi’s graphical user interface from your laptop. This requires installing Remote Desktop client software on your laptop and server software on the Raspberry Pi.
Configuring Remote Desktop Settings on Raspberry Pi
To allow Remote Desktop Connections, you must first configure the Raspberry Pi settings. Enable VNC in the Raspberry Pi’s interface options.
Accessing Raspberry Pi via Laptop’s Remote Desktop Client
Once everything is set up, you can access your Raspberry Pi’s desktop via your laptop’s Remote Desktop software. Simply input your Raspberry Pi’s IP address, username, and password to establish a connection.
Handling Common Connection Issues
Troubleshooting Connection Errors
Several issues might arise when trying to connect a Raspberry Pi to a laptop. These may include problems with physical connections, software configurations, or network settings. Detailed online guides and resources, as well as community support forums, can help identify and fix these issues.
Resolving Connectivity Problems using Command Line
When experiencing connectivity problems, using the command line interface can often provide a solution. From here, you can execute commands to check network statuses, manage hardware settings, and more.
Maintaining Stable Connectivity between Devices
To maintain a steady and stable connection between your Raspberry Pi and laptop, ensure that all device drivers and software remain up to date. Connected devices should also be kept within adequate range of each other (in the case of a wireless connection).
This image is property of i.ytimg.com.
Advanced Settings for Raspberry Pi Connection
Controlling Raspberry Pi via Laptop’s Terminal
Once you establish a connection between the devices, you can take advantage of the Raspberry Pi’s capabilities remotely from your laptop. Through SSH, you can access Raspberry Pi’s terminal and have full control over its command line.
Setting Up a Static IP for Raspberry Pi
By default, the Raspberry Pi is assigned a dynamic IP address from your network’s router. However, for a more stable connection, especially when regularly accessing the device remotely, setting up a static IP address is advisable.
Sharing Internet Connection with Raspberry Pi
If your Raspberry Pi is connected to your laptop via Ethernet or USB, sharing your laptop’s internet connection allows your Raspberry Pi to access the internet without needing to connect to a separate Wi-Fi network.
Securing Raspberry Pi Connection
Understanding Security Risks
It’s important to be aware of the potential security risks present when connecting devices. These include threats from malware, unauthorized access, and data theft. Proper security provisions and vigilance can help mitigate these risks.
Implementing Encryption and Password Protection
Securing your connection involves several steps. Encryption and password protection of all communications help prevent intrusion and unauthorized access. Always opt for secure methods of connection like SSH and VNC, which encrypt the data being transmitted.
Maintaining Regular Software and Security Updates
Regular updates help patch any possible security vulnerabilities. It’s critical to regularly update the Raspberry Pi’s OS and other installed software to help keep your connection secure. This also applies to any security software you may have installed for additional protection.
With this newfound understanding, connecting a Raspberry Pi to a laptop is within reach. The potential uses and learning opportunities offered by Raspberry Pi make it an extraordinary tool, truly limited only by the scope of one’s imagination.
This image is property of hackster.imgix.net.
- About the Author
- Latest Posts
Mark is a senior content editor at Text-Center.com and has more than 20 years of experience with linux and windows operating systems. He also writes for Biteno.com
