Easy Guide: How to Install XAMPP for Web Development
Welcome to my easy guide on installing XAMPP for web development. In this comprehensive tutorial, I will walk you through the step-by-step process of setting up XAMPP on both Windows and Mac operating systems. Whether you’re a beginner or an experienced developer, this installation guide will help you get up and running with XAMPP in no time.
XAMPP is a powerful software package that includes everything you need for web development, including the Apache web server, MySQL (or MariaDB) database management system, Perl, and PHP scripting languages. It is compatible with Linux, Windows, and Mac OS X, making it accessible to developers on multiple platforms.
Key Takeaways:
- XAMPP is a free software package that includes the Apache web server, MySQL (or MariaDB) database management system, Perl, and PHP scripting languages.
- XAMPP can be used as a local test system for web development on Linux, Windows, and Mac OS X.
- The XAMPP Control Panel allows users to manage and control the individual components of XAMPP.
- To verify the successful installation of XAMPP, you can open your web browser and type “http://localhost” in the address bar.
- If you encounter any issues during the installation process, there are troubleshooting steps you can follow.
What is XAMPP and its components?
XAMPP is a compilation of free software components that are essential for web development. This software packet includes the Apache web server, MySQL (or MariaDB) database management system, PHP scripting language, and Perl scripting language.
The Apache web server is a widely used open-source server software that allows users to host websites and applications. MySQL (or MariaDB) is a popular database management system that provides the functionality to store, retrieve, and manipulate data. PHP is a scripting language that is used for server-side web development, allowing developers to create dynamic and interactive web pages. Perl is another scripting language that is often used for text processing and system administration tasks.
These components work together to provide developers with a comprehensive toolkit for creating and testing web applications. By combining the power of the Apache web server, MySQL (or MariaDB) database, and PHP and Perl scripting languages, XAMPP offers a robust platform for web development projects.
| Component | Description |
|---|---|
| Apache | The Apache web server allows users to host websites and applications. |
| MySQL (or MariaDB) | MySQL (or MariaDB) is a database management system that provides the functionality to store, retrieve, and manipulate data. |
| PHP | PHP is a scripting language used for server-side web development, enabling the creation of dynamic and interactive web pages. |
| Perl | Perl is a scripting language commonly used for text processing and system administration tasks. |
With these components, XAMPP provides developers with a comprehensive and convenient toolset for web development. Whether you are creating a simple website or a complex web application, XAMPP’s components offer the flexibility and functionality needed to bring your projects to life.
Application Areas of XAMPP
XAMPP has a wide range of applications in the field of web development. It is primarily used as a local test system for developers working on Linux, Windows, and Mac OS X platforms. By installing XAMPP on their local machines, developers can create and test web applications before deploying them to production servers. This allows for a more efficient and streamlined development process, as any errors or issues can be identified and resolved in the local environment.
One of the main advantages of using XAMPP as a local test system is its ease of use. The software package includes all the necessary components, such as the Apache web server, MySQL (or MariaDB) database, and PHP scripting language, which are essential for developing dynamic websites and applications. With XAMPP, developers have a complete and integrated solution that eliminates the need to install and configure each component individually.
However, it is important to note that XAMPP is not recommended for use as a public server due to the lack of certain safety features. While it provides a convenient solution for local testing and development, it may not have the same level of security as dedicated server solutions. Therefore, it is advisable to transfer projects developed with XAMPP to a secure and reliable production server for public access.
In summary, XAMPP is widely used as a local test system for web development, allowing developers to create and test web applications in a controlled environment. Its ease of use and comprehensive package of components make it a popular choice among developers. However, caution should be exercised when considering using XAMPP as a public server.
Note: The image above illustrates the various application areas of XAMPP in web development.
How to Install XAMPP: Step-by-Step Guide
Installing XAMPP is a straightforward process that allows you to set up a local web development environment. Whether you’re using Windows or Mac, follow the steps below to install XAMPP:
Installation on Windows:
- Visit the official XAMPP website (https://www.apachefriends.org) and download the XAMPP installer for Windows.
- Once the download is complete, locate the installer file and double-click on it to start the installation.
- Follow the on-screen instructions, selecting the components you want to install. Typically, you’ll want to include Apache, MySQL, PHP, and phpMyAdmin.
- Choose the installation directory and click “Next” to proceed.
- On the next screen, select the “Start the Control Panel now” option and click “Finish” to complete the installation.
Installation on Mac:
- Visit the official XAMPP website (https://www.apachefriends.org) and download the XAMPP installer for Mac OS X.
- Once the download is complete, open the installer file and follow the on-screen instructions to start the installation.
- Drag and drop the XAMPP folder to the Applications folder to complete the installation.
- To start XAMPP, open the Applications folder, locate the XAMPP folder, and double-click on the “manager-osx” application.
Once XAMPP is installed, you can start using it to develop and test your web applications locally. Remember to start the necessary services, such as Apache and MySQL, using the XAMPP Control Panel.
Now that you’ve successfully installed XAMPP, you’re one step closer to creating and testing your web projects in a local environment.
The XAMPP Control Panel
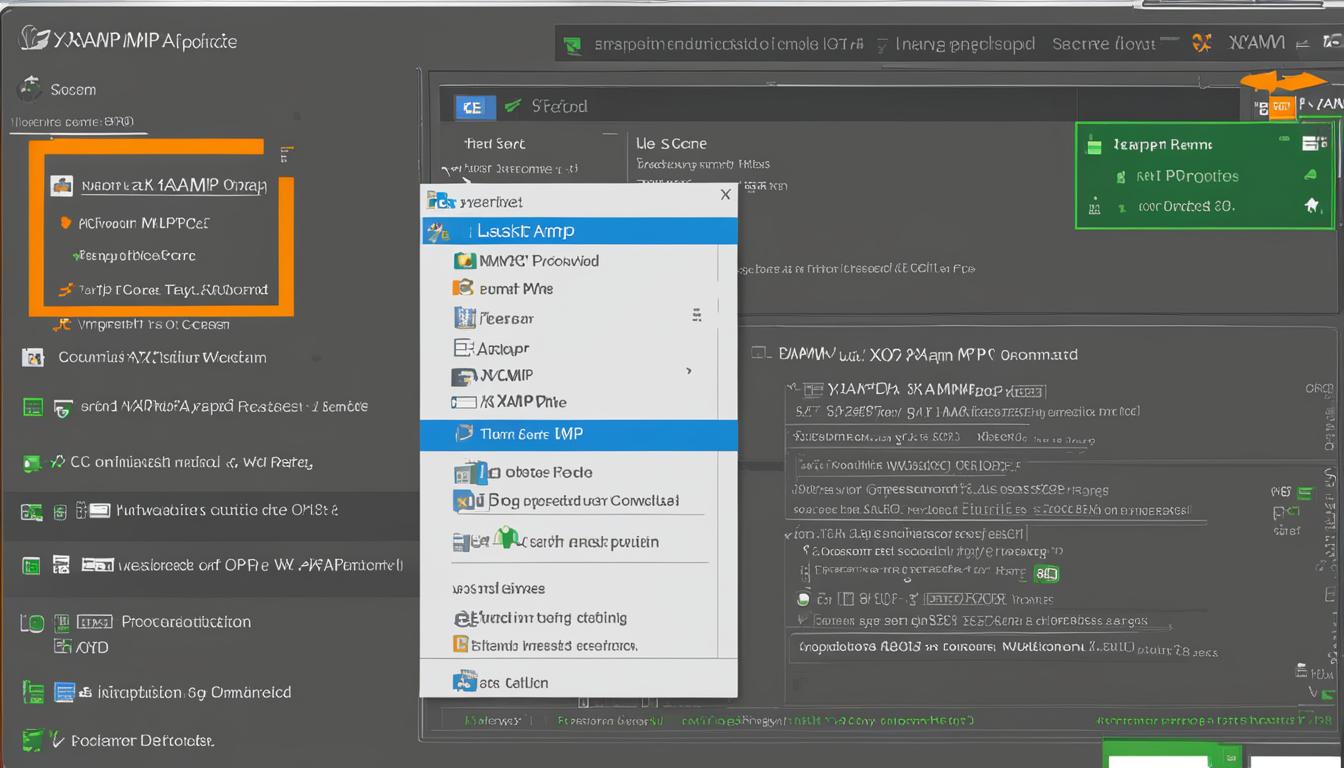
The XAMPP Control Panel is a powerful tool that allows users to manage and control the various components of XAMPP. It provides a convenient and user-friendly interface to start or stop modules, configure settings, view running processes, and manage services. The Control Panel is an essential part of the XAMPP installation, offering a centralized hub for all your web development needs.
Key Features of the XAMPP Control Panel
- Module Management: The Control Panel allows you to easily start or stop individual modules such as Apache, MySQL, PHP, and Perl. This gives you full control over which components are running, ensuring efficient resource allocation.
- Settings Configuration: With the Control Panel, you can quickly configure and fine-tune various settings for each module. This includes adjusting port numbers, setting up virtual hosts, enabling SSL, and more.
- Process Monitoring: The Control Panel provides real-time information on running processes, allowing you to monitor resource usage and identify any potential issues or bottlenecks. This helps ensure the smooth operation of your web development environment.
- File System Access: With the Control Panel, you can easily access the file system of your XAMPP installation. This allows you to manage files and directories, upload or download content, and make any necessary changes to your web projects.
- Support and Resources: The Control Panel offers quick access to helpful resources, documentation, and community forums. This makes it easy to find answers to any questions or troubleshoot any issues you may encounter during your web development journey.
In conclusion, the XAMPP Control Panel is a valuable tool for managing and controlling the various components of XAMPP. Its user-friendly interface and comprehensive features make it a must-have for any web developer using XAMPP for local testing and development.
| Feature | Description |
|---|---|
| Module Management | Start or stop individual modules like Apache, MySQL, PHP, and Perl. |
| Settings Configuration | Configure and fine-tune settings for each module, such as port numbers and virtual hosts. |
| Process Monitoring | Monitor running processes to optimize resource usage and identify potential issues. |
| File System Access | Manage files and directories within your XAMPP installation. |
| Support and Resources | Access helpful resources, documentation, and community forums for assistance. |
Testing your XAMPP installation
Once you have successfully installed XAMPP, it is important to test if it is working correctly. There are a few simple steps you can follow to verify the installation and ensure that everything is functioning as expected.
Step 1: Opening the XAMPP default page
To begin the testing process, open your preferred web browser and type “http://localhost” in the address bar. Hit enter, and if everything is set up correctly, you should see the default XAMPP welcome page. This page confirms that the Apache web server is running and you have successfully installed XAMPP.
Step 2: Testing PHP functionality
To further test your XAMPP installation, you can create a simple PHP file and check if PHP is working properly. Open a text editor and create a new file with the extension “.php”. In the file, enter the following code:
2
3
phpinfo();
?>
Save the file with a name of your choice, for example, “test.php”. Move the file to the “htdocs” folder in your XAMPP installation directory. In your web browser, enter “http://localhost/test.php” in the address bar. If PHP is correctly configured, you will see a page displaying detailed information about the PHP installation.
Step 3: Verifying database connectivity
Lastly, you can check if your XAMPP installation is able to connect to the MySQL database management system. Open your web browser and type “http://localhost/phpmyadmin” in the address bar. If everything is set up correctly, you should be able to access the phpMyAdmin interface, which allows you to manage your databases.
By following these steps, you can ensure that your XAMPP installation is functioning properly and ready for web development. If you encounter any issues during the testing process, refer to the XAMPP documentation or community forums for troubleshooting solutions.
Troubleshooting XAMPP Installation
Installing XAMPP for web development can sometimes encounter issues that require troubleshooting. This section provides guidelines on resolving common problems during the installation process.
Apache Not Starting
If Apache fails to start after installing XAMPP, it could be due to a port conflict. By default, Apache uses port 80, which may already be occupied by another program on your computer. To resolve this, you can change the Apache port in the XAMPP settings to an available, unused port.
“To change the Apache port in XAMPP, navigate to the XAMPP Control Panel and click on the ‘Config’ button next to Apache. Select ‘httpd.conf’ from the dropdown menu. In the configuration file, search for the line ‘Listen 80’ and replace it with ‘Listen [newport]’. Save the changes and try starting Apache again.”
Port Conflict with Skype
An additional common issue is a port conflict between XAMPP and Skype. Skype uses port 80 by default, which can prevent Apache from starting. To resolve this conflict, you can either change the Skype port or disable the “Use port 80 and 443 as alternatives for incoming connections” option in Skype settings.
- Open Skype and go to “Tools” > “Options”.
- Click on the “Advanced” tab and select “Connection”.
- Uncheck the “Use port 80 and 443 as alternatives for incoming connections” option.
- Save the changes and restart Skype.
XAMPP Control Panel Freezing
If the XAMPP Control Panel freezes or becomes unresponsive, it could be due to conflicting programs or insufficient system resources. To troubleshoot this, try closing any unnecessary applications running in the background and ensure your computer meets the minimum requirements for XAMPP.
In conclusion, troubleshooting XAMPP installation issues may involve resolving port conflicts, adjusting settings, or managing conflicting programs. By following the provided guidelines, users can overcome common hurdles and successfully install XAMPP for seamless web development.
| Issue | Troubleshooting Steps |
|---|---|
| Apache Not Starting | Change the Apache port in XAMPP settings to an available port. |
| Port Conflict with Skype | Change the Skype port or disable the “Use port 80 and 443 as alternatives for incoming connections” option in Skype settings. |
| XAMPP Control Panel Freezing | Close unnecessary applications running in the background and ensure system resources meet the minimum requirements. |

Alternative to XAMPP: MySQL Workbench
If you’re looking for an alternative to XAMPP, MySQL Workbench is an excellent choice for managing your MySQL database. With its user-friendly interface and powerful features, MySQL Workbench provides a comprehensive solution for database development and administration.
Unlike XAMPP, which includes a full software package for web development, MySQL Workbench focuses solely on database management. It allows you to easily design, model, and create databases, as well as execute SQL queries and manage server connections.
One of the key advantages of MySQL Workbench is its integrated visual database design tool. This feature enables you to visually create and modify database schemas, tables, and relationships, making it easier to design complex databases. Additionally, MySQL Workbench offers advanced tools for performance optimization, data migration, and server administration.
| Feature | XAMPP | MySQL Workbench |
|---|---|---|
| Database Management | Included | Main focus |
| Visual Database Design | No | Yes |
| SQL Query Execution | Yes | Yes |
| Performance Optimization | No | Yes |
| Data Migration | No | Yes |
In summary, while XAMPP is a comprehensive package for web development, MySQL Workbench offers a dedicated solution for managing MySQL databases. Depending on your specific needs, you can choose between XAMPP for a complete web development environment or MySQL Workbench for focused database management.
Conclusion
After following the step-by-step guide and troubleshooting tips, I have successfully installed XAMPP for web development. XAMPP provides a convenient solution for setting up a local test environment, allowing me to develop and test web applications with ease.
The easy installation process of XAMPP makes it accessible for developers of all levels. With its user-friendly Control Panel, I can quickly start and stop modules, configure settings, and manage services. The XAMPP Control Panel also provides links to helpful resources and forums for additional support.
In conclusion, XAMPP is a valuable tool for web development. Whether you are a beginner or an experienced developer, installing XAMPP will enable you to create and test web applications efficiently. Now that I have XAMPP installed, I am excited to embark on my web development journey!
FAQ
How do I install XAMPP?
To install XAMPP, follow these steps:
What is XAMPP and what are its components?
XAMPP is a compilation of free software components, including the Apache web server, MySQL (or MariaDB) database management system, PHP scripting language, and Perl scripting language.
What are the application areas of XAMPP?
XAMPP is commonly used as a local test system for web development.
How can I install XAMPP step-by-step?
To install XAMPP, follow the step-by-step guide provided in the installation process. The guide will walk you through the necessary steps for installation on Windows or Mac.
What is the XAMPP Control Panel and what features does it offer?
The XAMPP Control Panel allows users to manage and control the individual components of XAMPP. It provides a user-friendly interface to start or stop modules, configure settings, view running processes, access the file system, and manage services.
How can I test my XAMPP installation?
To verify the successful installation of XAMPP, open your web browser and type “http://localhost” in the address bar. If you see the default XAMPP page, it means that XAMPP is installed correctly.
What should I do if I encounter issues during the XAMPP installation process?
If you encounter issues during the XAMPP installation process, you can follow troubleshooting steps such as changing conflicting ports, adjusting XAMPP module port settings, and ending conflicting programs like Skype. Refer to the XAMPP documentation and community forums for specific troubleshooting solutions.
Is there an alternative to XAMPP?
Yes, an alternative to XAMPP is MySQL Workbench, which can be installed separately and performs similar functions to phpMyAdmin.
- About the Author
- Latest Posts
Janina is a technical editor at Text-Center.com and loves to write about computer technology and latest trends in information technology. She also works for Biteno.com.


