Easy Guide to Switch Desktops on Windows 11
Using virtual desktops in Windows 11 can greatly enhance multitasking efficiency, especially for those working from home with a single-monitor setup. The Task View pane in Windows 11 allows users to easily add and manage virtual desktops. Adding a desktop can be done through the Task View button on the taskbar or by using the keyboard shortcut Windows Key + Tab. Switching between desktops can be done from the Task View pane or by using keyboard shortcuts Windows Key + Ctrl + Left Arrow or Windows Key + Ctrl + Right Arrow.
Key Takeaways:
- Virtual desktops in Windows 11 enhance multitasking efficiency.
- The Task View pane allows users to easily add and manage virtual desktops.
- Switching between desktops can be done from the Task View pane or using keyboard shortcuts.
- Adding a desktop can be done through the Task View button on the taskbar or with a keyboard shortcut.
- Keyboard shortcuts Windows Key + Ctrl + Left Arrow or Windows Key + Ctrl + Right Arrow can be used to switch between desktops.
How to Add and Manage Virtual Desktops in Windows 11
Virtual desktops in Windows 11 provide a convenient way to multitask and stay organized. Adding and managing virtual desktops allows you to separate different tasks and applications, improving productivity and workflow efficiency. Here’s a step-by-step guide on how to add and manage virtual desktops in Windows 11.
Adding a Virtual Desktop
To add a virtual desktop, open the Task View pane by clicking the Task View button on the taskbar or using the keyboard shortcut Windows Key + Tab. From the Task View pane, click the “New desktop” button to add a new virtual desktop. Alternatively, you can quickly add a desktop using the keyboard shortcut Windows Key + Ctrl + D.
Once a new desktop is added, you can switch between desktops by opening the Task View pane and clicking on the desired desktop or using the keyboard shortcut Windows Key + Ctrl + Left Arrow or Windows Key + Ctrl + Right Arrow. This allows you to seamlessly navigate between different tasks and applications.
Managing Virtual Desktops
In addition to adding virtual desktops, Windows 11 offers various options to customize and manage them. From the Task View pane, you can rename desktops, change desktop backgrounds, move windows between desktops, and close desktops. Right-clicking on a desktop in the Task View pane will give you access to these management options.
| Management Options | Description |
|---|---|
| Rename | Allows you to give a specific name to each desktop, making it easier to identify and organize tasks. |
| Change Background | Customize the desktop background for each virtual desktop, providing visual cues to differentiate between tasks. |
| Move Windows | Move open windows or applications between different desktops, allowing you to streamline your workspace. |
| Close Desktop | Closes a virtual desktop when it is no longer needed, freeing up system resources. |
By leveraging these management options, you can personalize your virtual desktops and optimize your workflow in Windows 11.
In conclusion, Windows 11 offers a powerful virtual desktop feature that can enhance your productivity and organization. By following these steps to add and manage virtual desktops, you can take full advantage of this functionality and create a seamless computing experience.
How to Switch Between Virtual Desktops in Windows 11
Switching between virtual desktops in Windows 11 is a simple and efficient way to navigate your workflow and multitask effectively. Whether you’re working on multiple projects or need to separate personal and professional tasks, switching between virtual desktops can help keep your workspace organized and improve productivity. In this section, I will guide you through the different methods to switch between virtual desktops in Windows 11.
Navigating through the Task View Pane
One way to switch between virtual desktops in Windows 11 is by using the Task View pane. To open the Task View pane, you can either click on the Task View button on the taskbar or use the keyboard shortcut Windows Key + Tab. Once the Task View pane is open, you can see all your virtual desktops displayed at the top of the screen. Simply click on the desired desktop to switch to it. This method is ideal for users who prefer a visual representation of their desktops.
Keyboard Shortcuts for Quick Switching
If you prefer a faster way to switch between virtual desktops, Windows 11 offers convenient keyboard shortcuts. To move to the desktop on the left, press the Windows Key + Ctrl + Left Arrow. Similarly, to switch to the desktop on the right, press the Windows Key + Ctrl + Right Arrow. These keyboard shortcuts allow for seamless and instantaneous navigation between different virtual desktops, saving you time and effort.
With these methods at your disposal, switching between virtual desktops in Windows 11 becomes a breeze. Whether you prefer the visual Task View pane or the convenience of keyboard shortcuts, you can easily navigate through your desktops and stay organized in your work or personal tasks.
Now that you know how to switch between virtual desktops in Windows 11, you can optimize your workflow and increase productivity. Take advantage of these features to create a customized and efficient workspace tailored to your needs. In the next section, we will explore how to rename and customize your virtual desktops in Windows 11.
How to Rename and Customize Desktops on Windows 11
In Windows 11, users have the option to rename their desktops for better organization and customization. To rename a desktop, open the Task View pane, right-click on a desktop, and select “Rename.” This allows users to label their desktops according to specific projects or purposes.
Furthermore, Windows 11 also allows users to customize desktop backgrounds, making it easier to visually distinguish between different desktops. By right-clicking on the desktop and selecting “Personalize,” users can choose from a range of wallpapers and set different backgrounds for each desktop. This feature is especially useful for individuals who work on multiple tasks simultaneously and want a quick visual reference to distinguish between desktops.
Renaming and Customizing Desktops
Renaming desktops in Windows 11 provides users with a simple and effective way to stay organized. By giving each desktop a descriptive name, users can quickly identify and switch to the right desktop for a specific project or task. Additionally, customizing desktop backgrounds adds a visually appealing touch to the overall user experience, enhancing productivity and personalization.
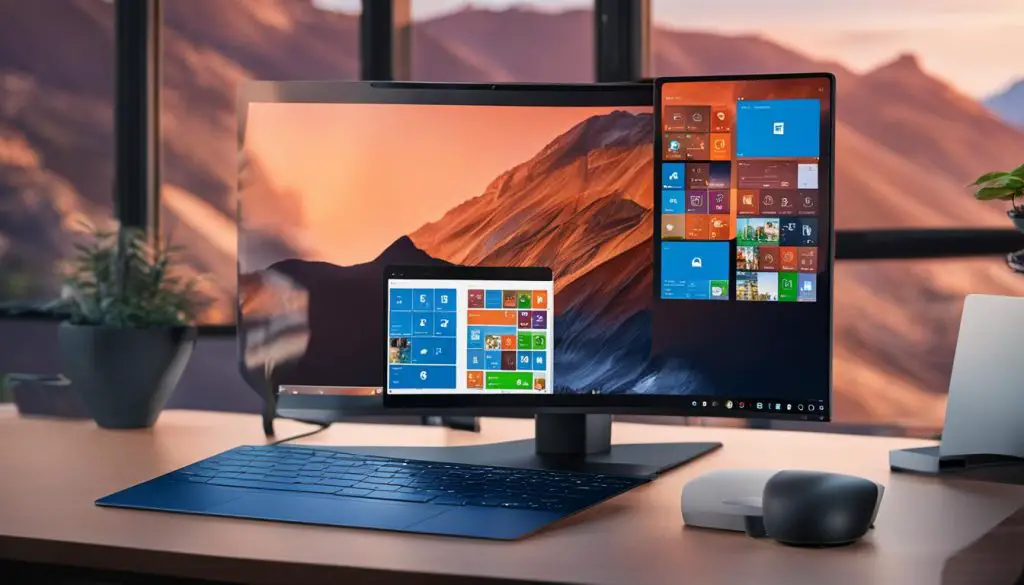
With the ability to rename and customize desktops, users can create a personalized workspace that suits their workflow and preferences. Whether it’s labeling desktops by client names, project types, or personal and professional use, Windows 11 offers the flexibility to tailor the desktop experience to individual needs.
By utilizing the desktop renaming and customization features in Windows 11, users can easily navigate between virtual desktops and maintain an organized and visually appealing workspace.
How to Move Windows Between Desktops in Windows 11
One of the key features of virtual desktops in Windows 11 is the ability to easily move applications or windows between different desktops. This functionality allows users to seamlessly transition their tasks and applications across multiple desktops, enhancing productivity and organization.
To move a window between desktops in Windows 11, you can follow a simple process. First, open the Task View pane by clicking the Task View button on the taskbar or using the Windows Key + Tab shortcut. Once the Task View pane is open, hover over the desktop that contains the window you want to move. You will see the windows on that desktop appear in an expanded view.
Next, you can click and drag the desired application or window to the desired desktop. Alternatively, you can right-click on the application or window and select “Move to” to choose the target desktop.
By utilizing this feature in Windows 11, you can easily organize your workspaces and distribute your applications across different desktops based on your workflow or project needs. This allows for a more focused and efficient working environment.
| Step | Instructions |
|---|---|
| 1 | Open the Task View pane by clicking the Task View button or using Windows Key + Tab. |
| 2 | Hover over the desktop containing the window you want to move. |
| 3 | Click and drag the window to the desired desktop or right-click on the window and select “Move to” to choose the target desktop. |
By following these simple steps, you can take full advantage of the virtual desktop feature in Windows 11 and easily move windows between different desktops to streamline your workflow.
How to Close a Virtual Desktop in Windows 11
Closing a virtual desktop in Windows 11 is a simple and straightforward process. Whether you no longer need a specific desktop or want to declutter your workspace, closing a virtual desktop can help streamline your multitasking experience. Here’s how you can do it:
- Open the Task View pane by clicking the Task View button on the taskbar or using the keyboard shortcut Windows Key + Tab.
- Hover over the desktop that you want to close. An “X” will appear in the upper-right corner of the desktop.
- Click on the “X” to close the desktop.
Alternatively, you can also use a keyboard shortcut to close a virtual desktop in Windows 11. Simply open the Task View pane with the Windows Key + Tab shortcut, navigate to the desired desktop using the arrow keys, and press the Delete key to close it.
By closing virtual desktops that are no longer in use, you can free up system resources and keep your workspace organized. Remember that closing a desktop will close all the applications and windows open on that desktop, so make sure to save your work before closing a desktop.
Table: Keyboard Shortcuts for Closing Virtual Desktops
| Keyboard Shortcut | Description |
|---|---|
| Windows Key + Tab | Open the Task View pane |
| Arrow keys | Navigate to the desired desktop |
| Delete | Close the selected desktop |
Tips and Tricks for Virtual Desktops in Windows 11
Switching between virtual desktops in Windows 11 can greatly enhance productivity and organization. By utilizing additional features and customization options, you can optimize your virtual desktop experience. Here are some tips and tricks to help you make the most out of virtual desktops in Windows 11.
Organize Your Taskbar
One way to streamline your workflow is by setting your taskbar to display all open windows across desktops. This allows you to easily access and switch between applications without the need to navigate to different desktops. To enable this feature, right-click on the taskbar, go to Taskbar settings, and under the “Multiple displays” section, select “All taskbars.”
Customize Desktop Backgrounds
Customizing the background of each virtual desktop can help visually differentiate between them. This is especially useful when you have multiple desktops dedicated to different projects or tasks. To customize the background, right-click on the desktop in the Task View pane, select “Personalize,” and choose a background image or color that suits your preference.
Order Your Desktops
It can be helpful to organize your open desktops in a preferred order. This allows for easier navigation and quick access to specific desktops. To rearrange desktops, open the Task View pane, click and hold on a desktop thumbnail, and drag it to the desired position.
Add Custom Keyboard Shortcuts
Windows 11 allows you to create custom keyboard shortcuts for various actions, including switching between desktops. This enables you to quickly switch to a specific desktop without having to open the Task View pane. To set a custom keyboard shortcut, go to Settings, select “Keyboard shortcuts,” and under the “Virtual desktops” section, assign your preferred shortcut.
Conclusion
After exploring the virtual desktop features in Windows 11, it is clear that they provide a valuable tool for enhancing productivity and organization in the workspace. With the ability to easily create and manage multiple desktops, users can seamlessly switch between different tasks and applications with just a few clicks or keyboard shortcuts. This desktop switching feature is especially useful for those who work on a single-monitor setup or need to juggle multiple projects simultaneously.
By utilizing the Task View pane and its various options, such as renaming desktops, customizing backgrounds, and moving windows between desktops, users can personalize their workspace and streamline their workflow. The ability to navigate between desktops quickly and efficiently allows for a smoother multitasking experience, ultimately saving time and improving productivity.
If you want to make the most of the desktop switching feature in Windows 11, consider implementing some of the additional tips and tricks. Set your taskbar to display all open windows across desktops for easy access, organize your desktops in the preferred order, and add custom backgrounds to differentiate between them. These small adjustments can make a big difference in creating a personalized and efficient computing experience.
In conclusion, Windows 11’s desktop switching feature is a valuable tool for anyone looking to optimize their multitasking abilities. With its user-friendly interface and customization options, Windows 11 allows users to navigate between desktops seamlessly and create a workspace that suits their unique needs. So why wait? Start exploring the desktop switching capabilities in Windows 11 today and unlock a new level of productivity.
FAQ
How do I switch between virtual desktops in Windows 11?
To switch between virtual desktops in Windows 11, open the Task View pane and click on the desired desktop. Alternatively, you can use the keyboard shortcuts Windows Key + Ctrl + Left Arrow or Windows Key + Ctrl + Right Arrow to quickly switch between desktops.
How do I add a virtual desktop in Windows 11?
To add a virtual desktop in Windows 11, open the Task View pane by clicking the Task View button on the taskbar or using the Windows Key + Tab shortcut. From the Task View pane, click the “New desktop” button to add a new virtual desktop.
How do I rename and customize desktops on Windows 11?
To rename a desktop in Windows 11, open the Task View pane, right-click on a desktop, and select “Rename.” You can also customize desktop backgrounds to visually distinguish between different desktops.
How do I move windows between desktops in Windows 11?
To move applications or windows between different desktops in Windows 11, open the Task View pane and hover over the desktop containing the desired application. You can then click and drag the application to the desired desktop or use the right-click option to move the application.
How do I close a virtual desktop in Windows 11?
To close a virtual desktop in Windows 11, open the Task View pane and hover over the desktop that needs to be closed. An “X” will appear in the upper-right corner of the desktop. Click on the “X” to close the desktop.
What are some tips and tricks for virtual desktops in Windows 11?
You can optimize the usage of virtual desktops in Windows 11 by setting the taskbar to display all open windows across desktops, organizing open desktops by preferred order, and adding custom backgrounds to differentiate between virtual desktops.
- About the Author
- Latest Posts
Janina is a technical editor at Text-Center.com and loves to write about computer technology and latest trends in information technology. She also works for Biteno.com.
